Introduction
Drawing a fox can be a fun and creative activity. Whether you are an experienced artist or just starting out, creating a fox drawing allows you to explore your artistic skills and imagination. In this article, we will guide you through the process of drawing a fox step-by-step, providing tips and techniques to help you achieve a realistic and visually appealing result. So, let's get started and unleash your inner artist!

Gathering the Required Materials
Before you begin your fox drawing, it is essential to gather all the necessary materials. Here's a list of items you will need:
- Pencil: Use a high-quality graphite pencil with a range of hardness for sketching and shading.
- Paper: Choose a smooth and sturdy paper that is suitable for your drawing medium.
- Eraser: Have a soft eraser to correct mistakes and smudges.
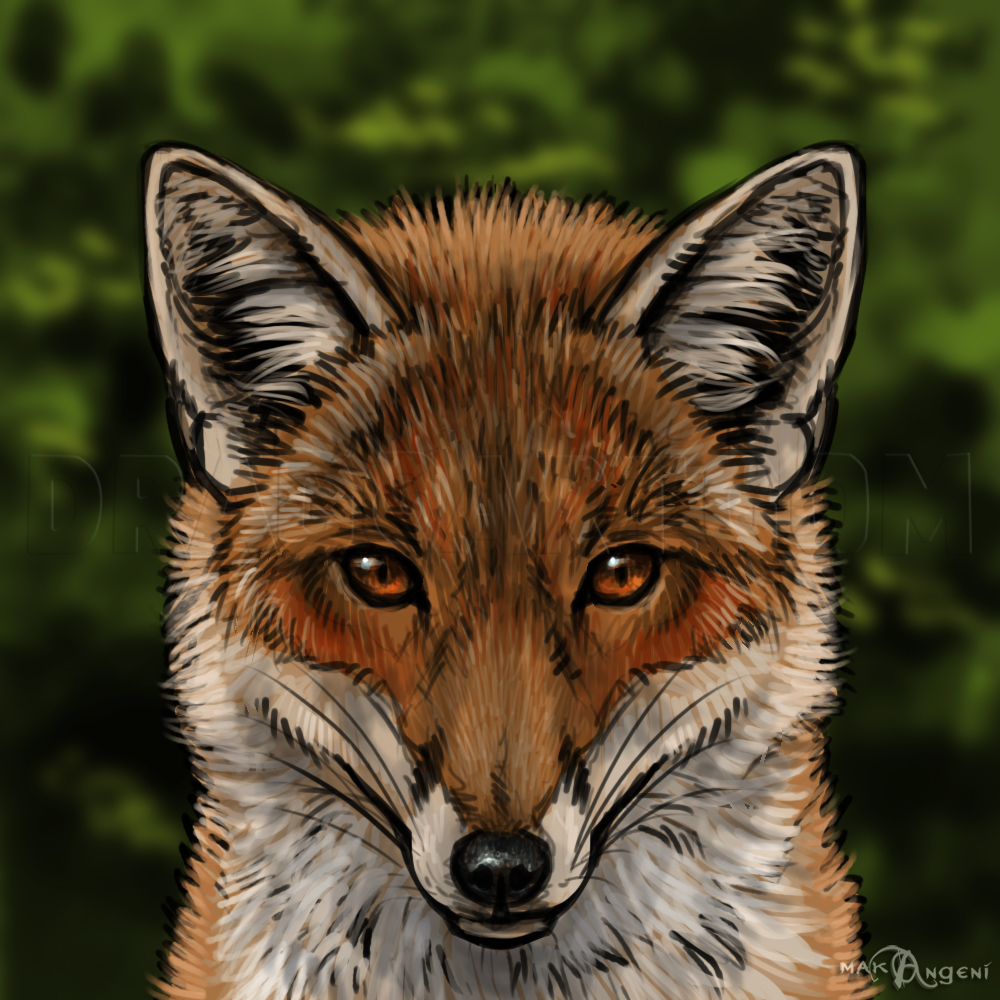
- Reference Image: Find a clear and detailed reference image of a fox to help you with proportions and details.

Step 1: Sketching the Basic Shapes
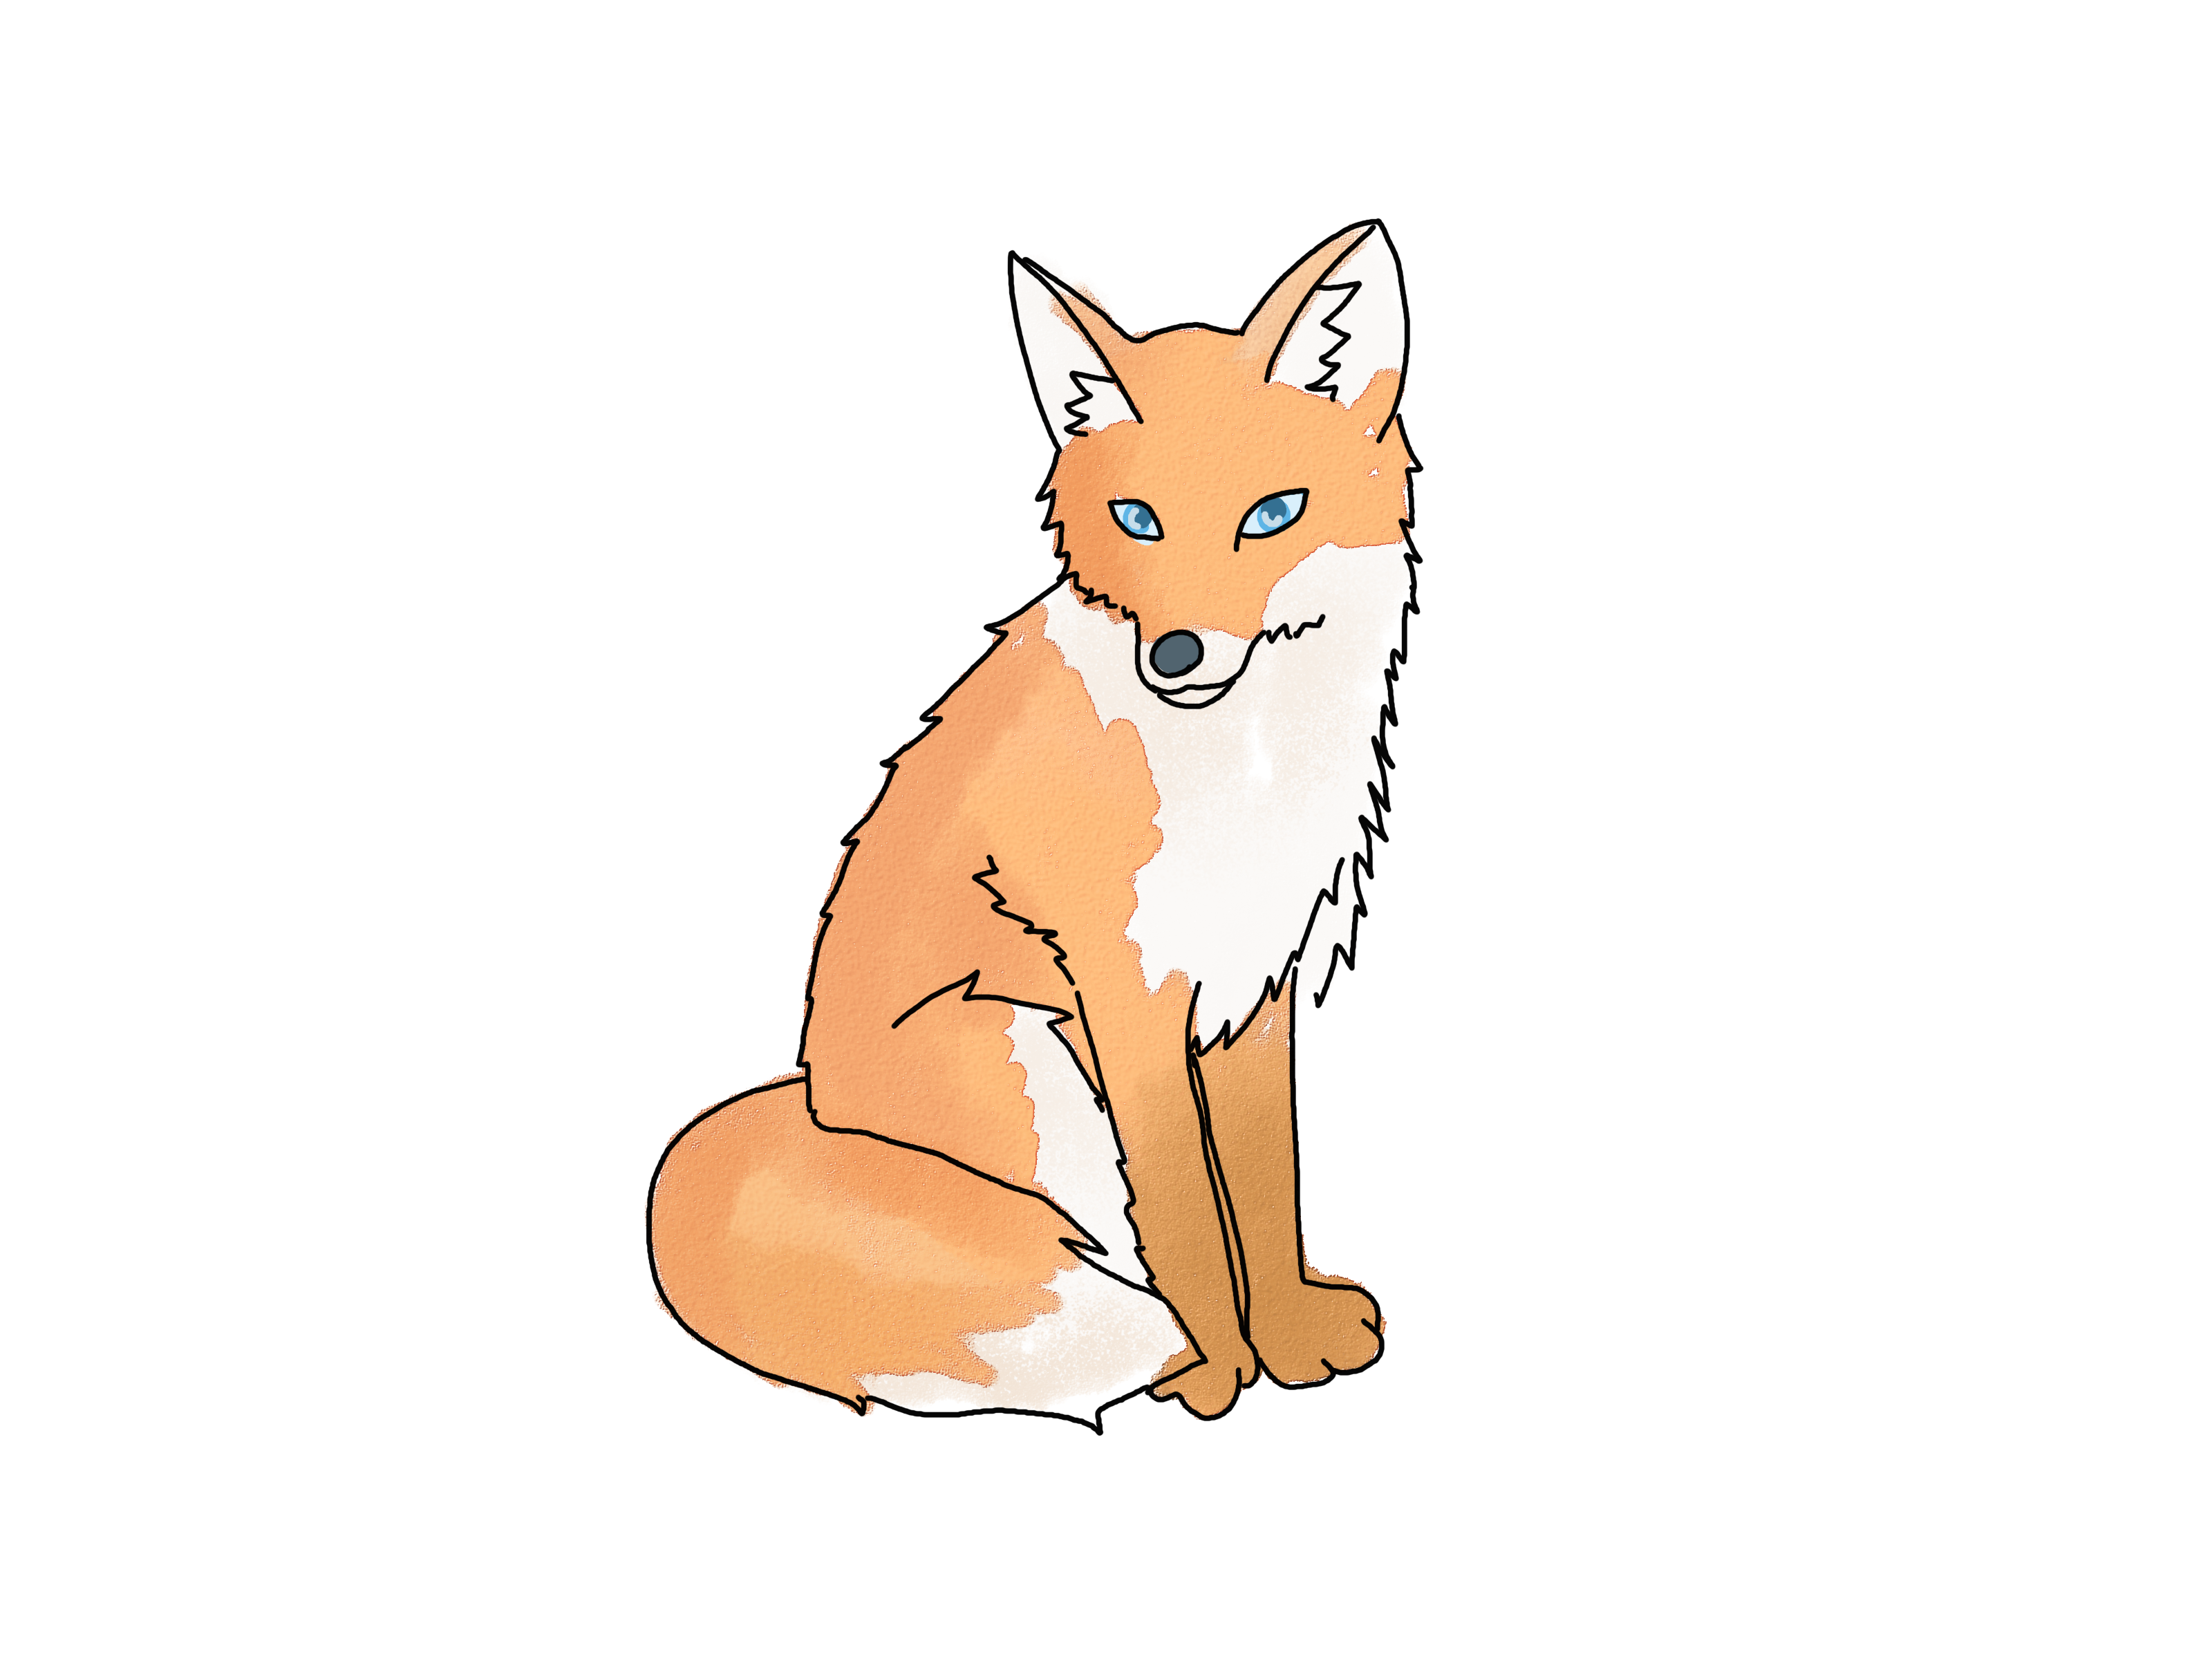
Start by lightly sketching the basic shapes of the fox using simple geometric forms. Begin with an oval for the head, a larger oval for the body, and smaller circles for the ears. Pay attention to the proportions and placement of these shapes to ensure accuracy in your drawing.

Step 2: Defining the Facial Features
Now, it's time to add more details to the fox's face. Sketch the eyes, nose, and mouth using smaller shapes and lines. Pay close attention to the reference image to capture the fox's unique facial features. Take your time and make adjustments as needed until you are satisfied with the proportions and overall expression.
Step 3: Adding Fur Details
To make your fox drawing more realistic, focus on adding fur details. Start by lightly sketching the outline of the fur using short, curved lines that follow the contour of the fox's body. Gradually build up the texture by adding more layers of lines and strokes, paying attention to the direction and flow of the fur. Use reference images to guide you in creating a sense of depth and dimension.
Step 4: Shading and Texturing
Shading is an important aspect of any drawing, as it adds depth and dimension. Begin by identifying the light source in your reference image and use a range of pencil hardness to create shadows and highlights. Pay attention to the areas where the fur overlaps or casts shadows on the face and body. Use blending tools like a blending stump or cotton swab to achieve a smooth transition between light and dark areas.

Step 5: Finalizing the Drawing
Once you are satisfied with the shading and texture, go over your drawing and make any necessary adjustments. Erase any unwanted lines or smudges and refine the details to enhance the overall appearance of your fox drawing. Take a step back and evaluate your work to ensure it captures the essence of a fox.

Conclusion
Drawing a fox can be an enjoyable and rewarding experience. By following the step-by-step guide provided in this article, you can create a stunning fox drawing that showcases your artistic skills. Remember to practice regularly and explore different techniques to further improve your abilities. So, grab your materials, find a comfortable spot, and let your creativity soar as you bring a fox to life on paper!

